To make this photo box you'll need at least 5 sheets of cardstock and any embellishments you want. I'd recommend getting patterned cardstock but you could also use plain colored cardstock and glue colored paper on it.
While making this tutorial it was only my second time making the cube and I made a mistake by folding my paper the wrong way. I took apart my first lid and figured out what I did wrong. So these pictures consist of two different lids. Some pictures my paper has lines that shouldn't be there and the other pictures the paper is cut before it should be because that's the one that I had to take apart. But nevertheless my instructions are accurate and you should be able to get it. :)
The lid:
First you find the center of your 12 x 12 inch paper and mark it. The side that you mark will not be shown.

Then you fold all four corners to the center dot to make a square.

After you've made a square fold the east and west sides into the center line to make a vertical rectangle.

Open it back up to the square and fold the north and south sides to the center line to make a horizontal rectangle.

Unfold your paper and position it so a corner is towards you. Now cut on the line up to the center square on each side of the corner facing you and the one facing away. NOT on the corners facing east and west.

So it looks like this. Remember I made a mistake and some of those line you see in my pictures are not supposed to be there so don't freak out!

Fold east and west corners to the center dot.

Now bend the east and west sides up. These are two out of the four sides of you box lid.

As you fold the sides up turn the flappy triangles that are connected to these sides, inwards.

Now you have a swinging gate on the north and south sides.

Next you fold the last flaps, north and south, up and over your swinging gates.


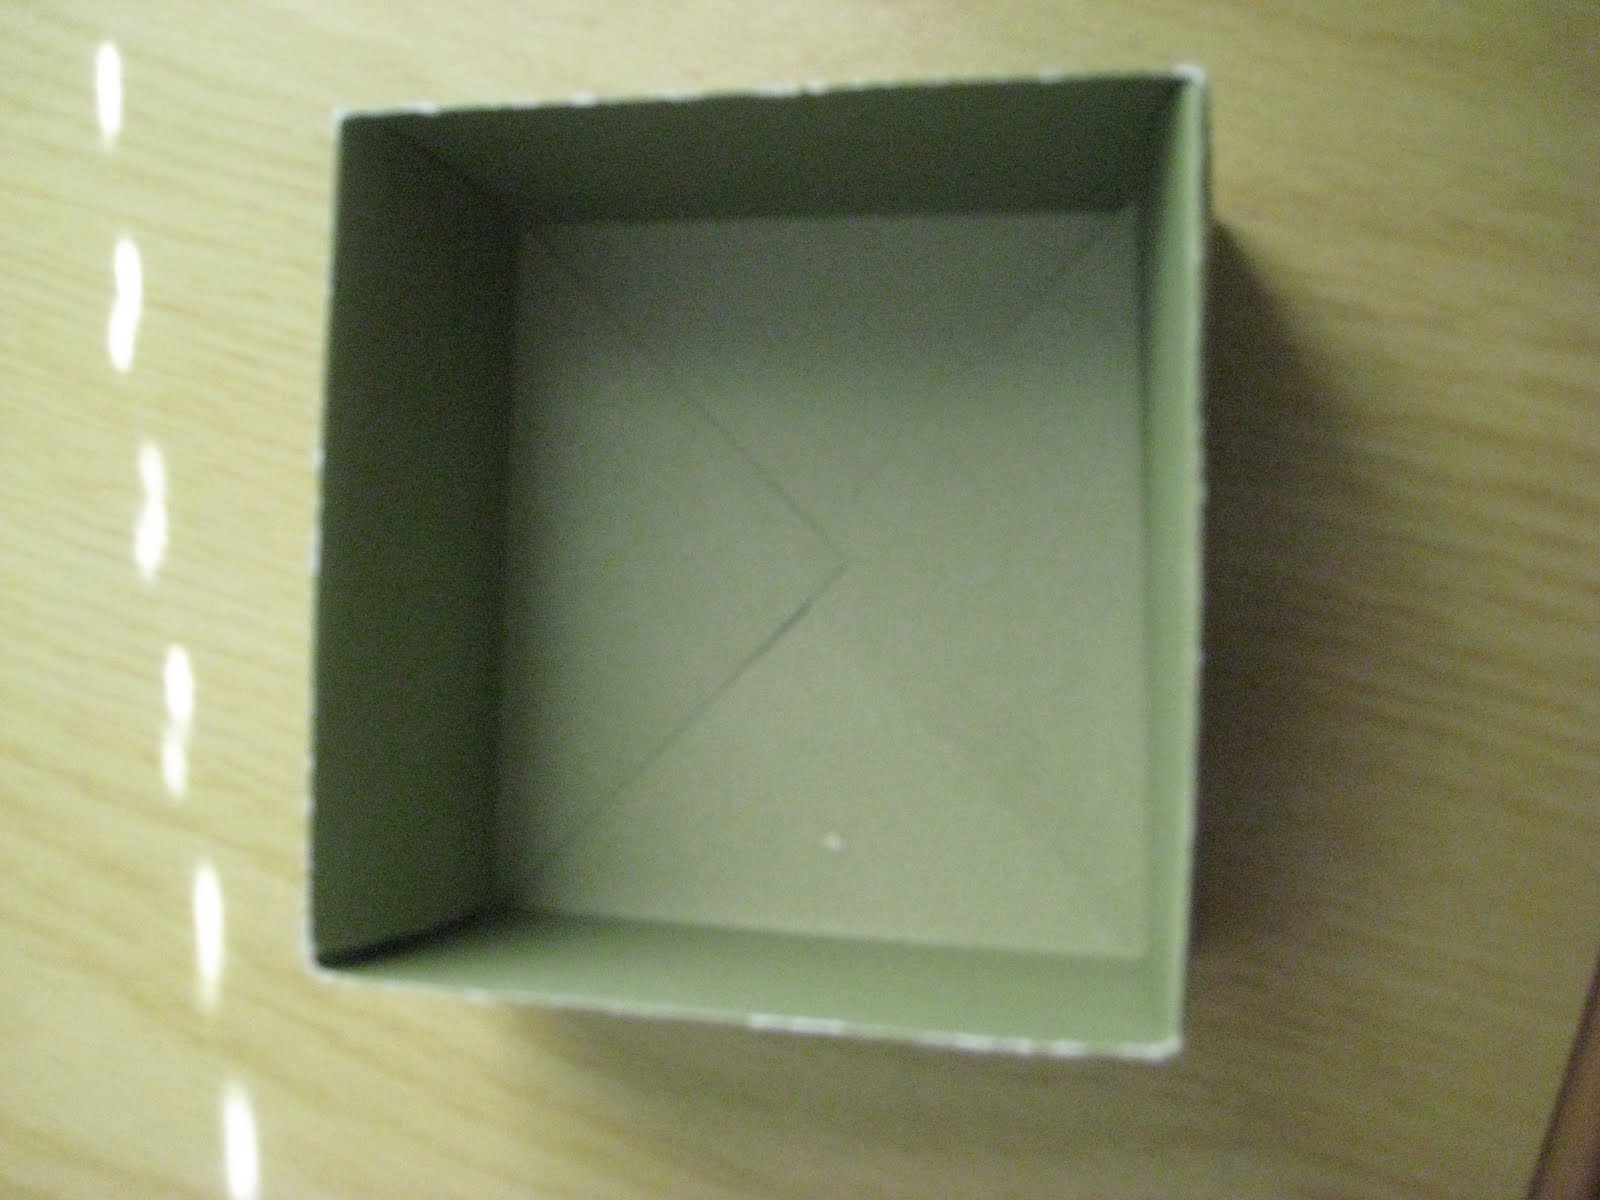
The final lid should look like this but a lot less blurry.

The box:
The first piece of cardstock you use for the box will be the outside of it. Whatever color or pattern you want for the outside of your box face downwards. So this picture my outside of the box would be white. Fold each side of your 12 x 12 paper four inches all around.

After you folded all the sides and opened it up your paper should look lined exactly like this.

This is when you start getting creative. With each corner you cut and fold to create your pages. This example I cut the horizontal east and west lines, and folded them over the north and south middle squares. Now you can put eyelets on the flaps and tie a ribbon through it, you could cut the corners at an angle and glue the sides down. It took me some trial and error but the most important thing is that you don't cut off or through the middle north south east or west squares.

With your next paper you want to cut two sides down a quarter of an inch. But when you fold the paper you still fold each side four inches. You want the page leafs to stay the same size and the middle square to get smaller. With the third piece of paper you cut a half inch on two sides, and the fourth, three quarters of an inch and so forth. So you cut a quarter inch smaller than the previous paper. Again only cut two sides of the paper and you still fold four inches on every paper.

Here are some of my pages. You can probably imagine how I cut the corner square to get a flap over the middle one.


Another thing is that you will see the back side of every page except for the center square. The only center square you'll see is the top one which is your smallest.


When you have all of your pages decorated you glue all your pages together in the middle.

Then you fold all the sides in.

And put your lovely decorated lid on top.

The finished product.

On all the paper and in all the pockets you made you can put a picture on or in. You can put pictures, or embellishments on the the backs, under the lid, on the sides, or on the top. Also on your pictures that are in the pockets you can but string or tags on them to be easily pulled out. This was not my idea. I'm not that creative. We did this at a Relief Society activity


7 comments:
Noelle, this is great detail. I think I could make one, just on what you said. Great pictures. Can we put you on the Craft Network!?!?!? :)
W
H
O
A
!
!
you're amazing!!
I was so confused the first time I read it but then I read it slower and this is a super awesome idea! I think I might have to do it with my YW! I love the paper that you have! SOO cute!!
Glad you were able to finish it. I showed my sisters and they said, "Way to labor intensive for me." Way to go!
That is way cool! I'm gunna have to try it!
wow!! that is really cool!!
That is awesome! I still owe you something handmade by me. ;-) Still waiting for that address. ;-)
Post a Comment